
Configuring APN Settings on Android
Android devices allow you to add a custom APN directly through the device settings. Follow the steps below — the screenshots shown are from a Google Pixel device running Android; the menu names may vary slightly on Samsung, Huawei, or other manufacturers, but the process is the same.
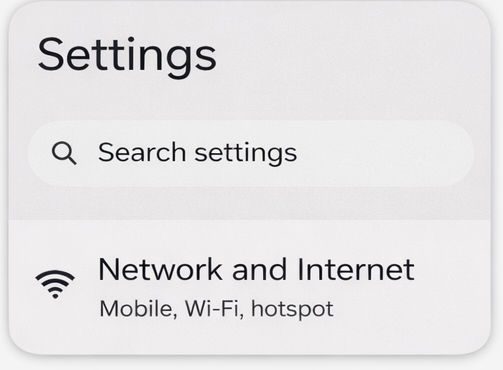
Open Settings and tap Network & Internet
From your device's home screen, open the Settings app and select Network & Internet (sometimes labelled Connections on Samsung devices).
Tap SIMs
Select the SIMs option to view your installed SIM cards.
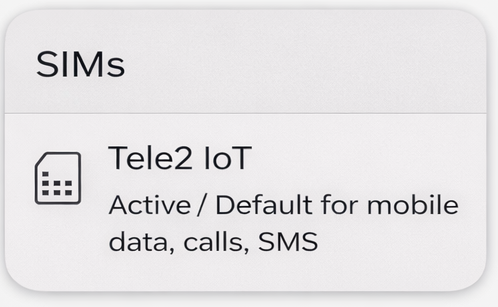
Tap your KeySIM card
Select your KeySIM (Tele2 IoT) from the list of installed SIM cards.

Ensure Roaming is enabled
Toggle Roaming on if you see this option. This ensures your KeySIM can connect across all supported UK networks.

Tap Access Point Names
Scroll down and tap Access Point Names to view and manage APN configurations for this SIM.

Tap Add New APN (do not edit existing entries)
Tap the + or Add new APN button. Never edit or delete an existing APN — always create a new one.

Enter Name and APN as key
Set both the Name and APN fields to key. Leave the Username and Password fields empty (not set).
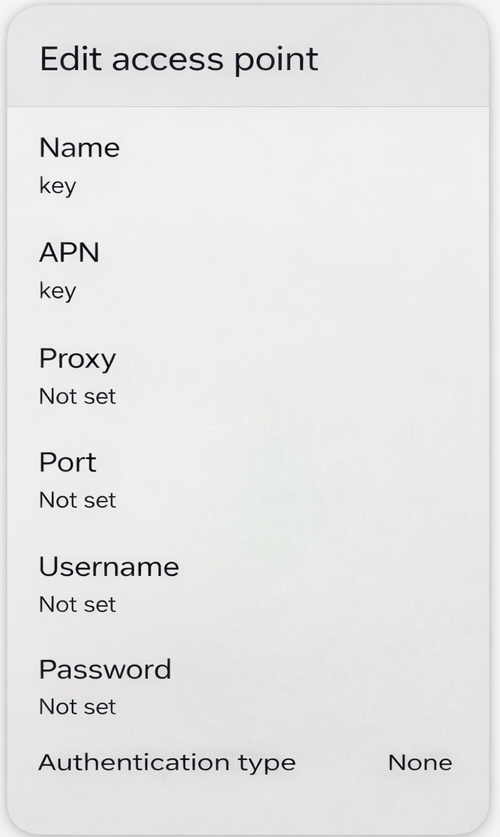
Set Authentication Type to None and save
Change the Authentication Type to None, then save the APN by tapping the menu (three dots) and selecting Save. Select the new key APN from the list to activate it.